
Traveling Smarter at 60

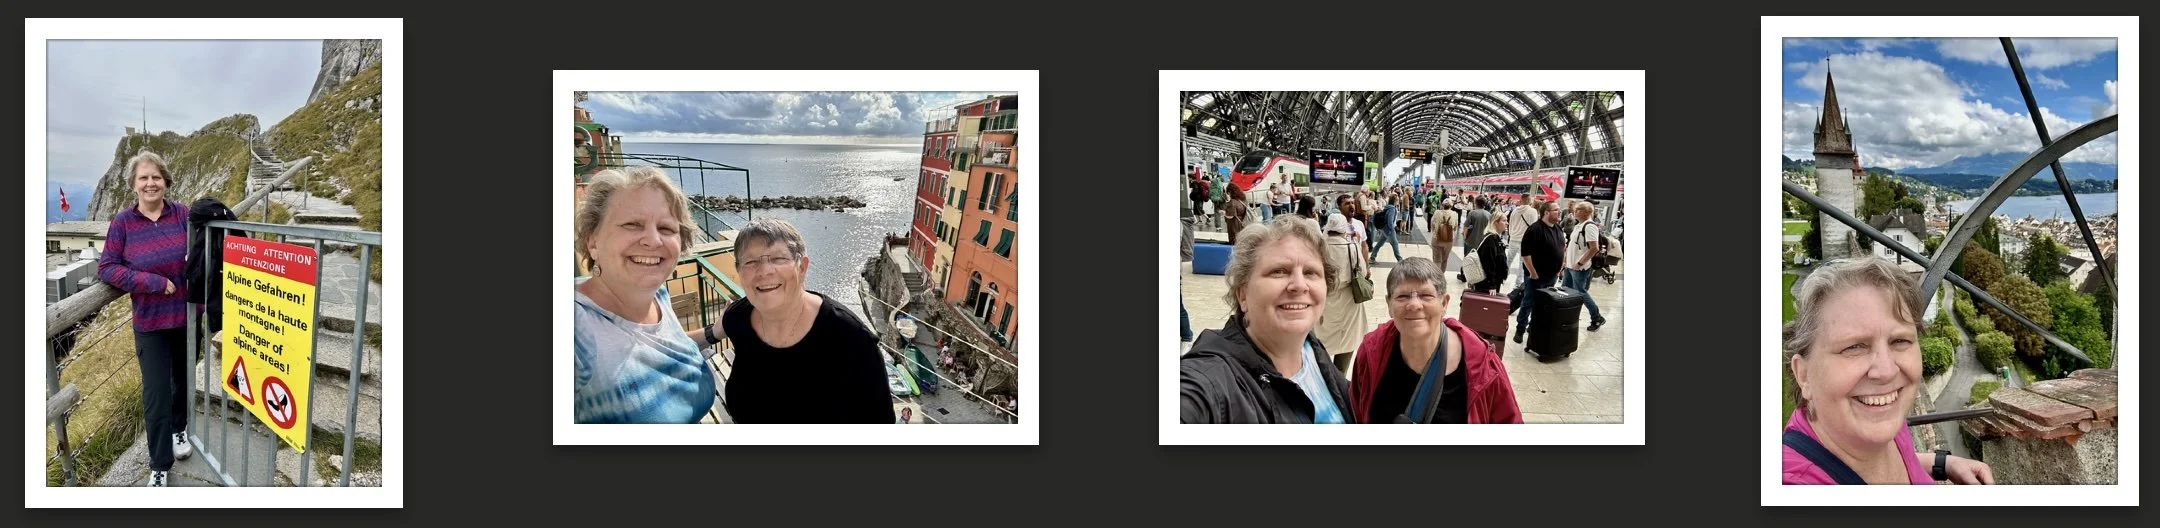
Sue and Barb in Switzerland on top of Mount Pilatus.
This year, I took a belated birthday trip to Europe — celebrating my “50–60th birthdays” (IYKYK). As I’ve gotten older, I’ve become more focused on traveling comfortably, from easily finding my way through charming towns to catching trains, planes, and boats without stress, and ending each day in a cozy bed. One of my favorite parts of traveling is discovering and using new technology to make the journey smoother. Here’s what I learned on this latest adventure — and the apps that made it all easier.
Take the time to download and practice with travel apps before you leave. Most companies have some kind of app that you can download on your phone.

If you’re like me, you’re the planner of all trips. I love the logistics of figuring out travel times, hotel check in, excursion days and dinner reservations. But, on a long trip, that amount of time management can be daunting. I use Tripit to manage all aspects of our travels. You can use the basic Tripit app for free to test it out. Add all your activities, tickets, reservations and adventures to the app for a day-by-day itinerary that you can share with everyone on the trip. I also share with family not going on the trip in case of emergency. I upload PDFs of non Apple Wallet tickets (see below) and information to the app. No paper, just peace of mind that your trip is in your hands and on your phone.

Download Google Translate so you can have it listen to others in their language and allow you to respond for a better conversation and better directions to the best gelato shop. Also, use it ahead of your trip to teach yourself how to speak some basic language niceties like “Hello”, “Thank you”, “Please” and “Goodbye” in every language in every country you visit.
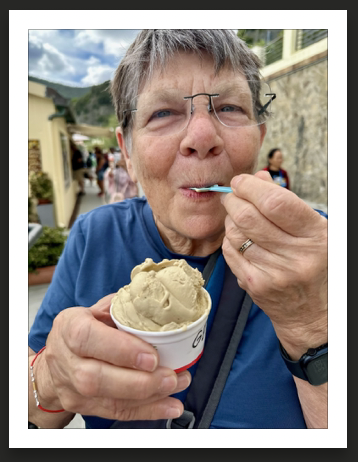

And, if you need help reading menus and wine lists, use your iPhone camera and the translate feature to do just that. we wrote a blog about it so you can see step by step how to make sure you get the wine you like and the food you want to eat. I can’t begin to tell you about the weird food and wine I ordered before I was able to translate these menus. And, if you find a wine you like (I love trying new wines when traveling, as you’ll see in the images below), ask the server to show you the bottle. Take a photo of the label using the Vivino app. It will find the wine online, with tasting notes and ratings. Save it to the Vivino app for reference later when you get back to the States.


If you’re not using Apple Wallet, yet, and you’re getting ready to travel abroad, you’re missing out. We traveled to three countries and all three primarily used credit cards for purchases. Having our credit cards on our phones in Apple Wallet made the experience easier and safer. We wrote a blog about adding your airline ticket to Apple Wallet a couple of years ago. Check it out. Carrying a bunch of cash in any country is dangerous. Using credit cards in your Apple Wallet is a safe and secure way to pay for almost anything. Plus, by using Apple Wallet, you can save your event, hotel, airline, train and boat tickets on the wallet for easy and quick access. No fumbling for the paper ticket or accidentally leaving the paper ticket in your hotel. It’s with you when you need it since you carry your phone with you everywhere. If you see Add to Apple Wallet when booking, tap on it to make your ticketing experience much easier.

Here’s an easy trick for currency conversion. If you’re using an Apple iPhone, tap on the Calculator app. Tap the calculator icon located in the lower left corner. Tap to turn on Convert. Your calculator can now convert US to Euro or Swiss Franc or any other currency. If you look deeper, you can also convert temperature in Celsius to Fahrenheit or even Kelvin.


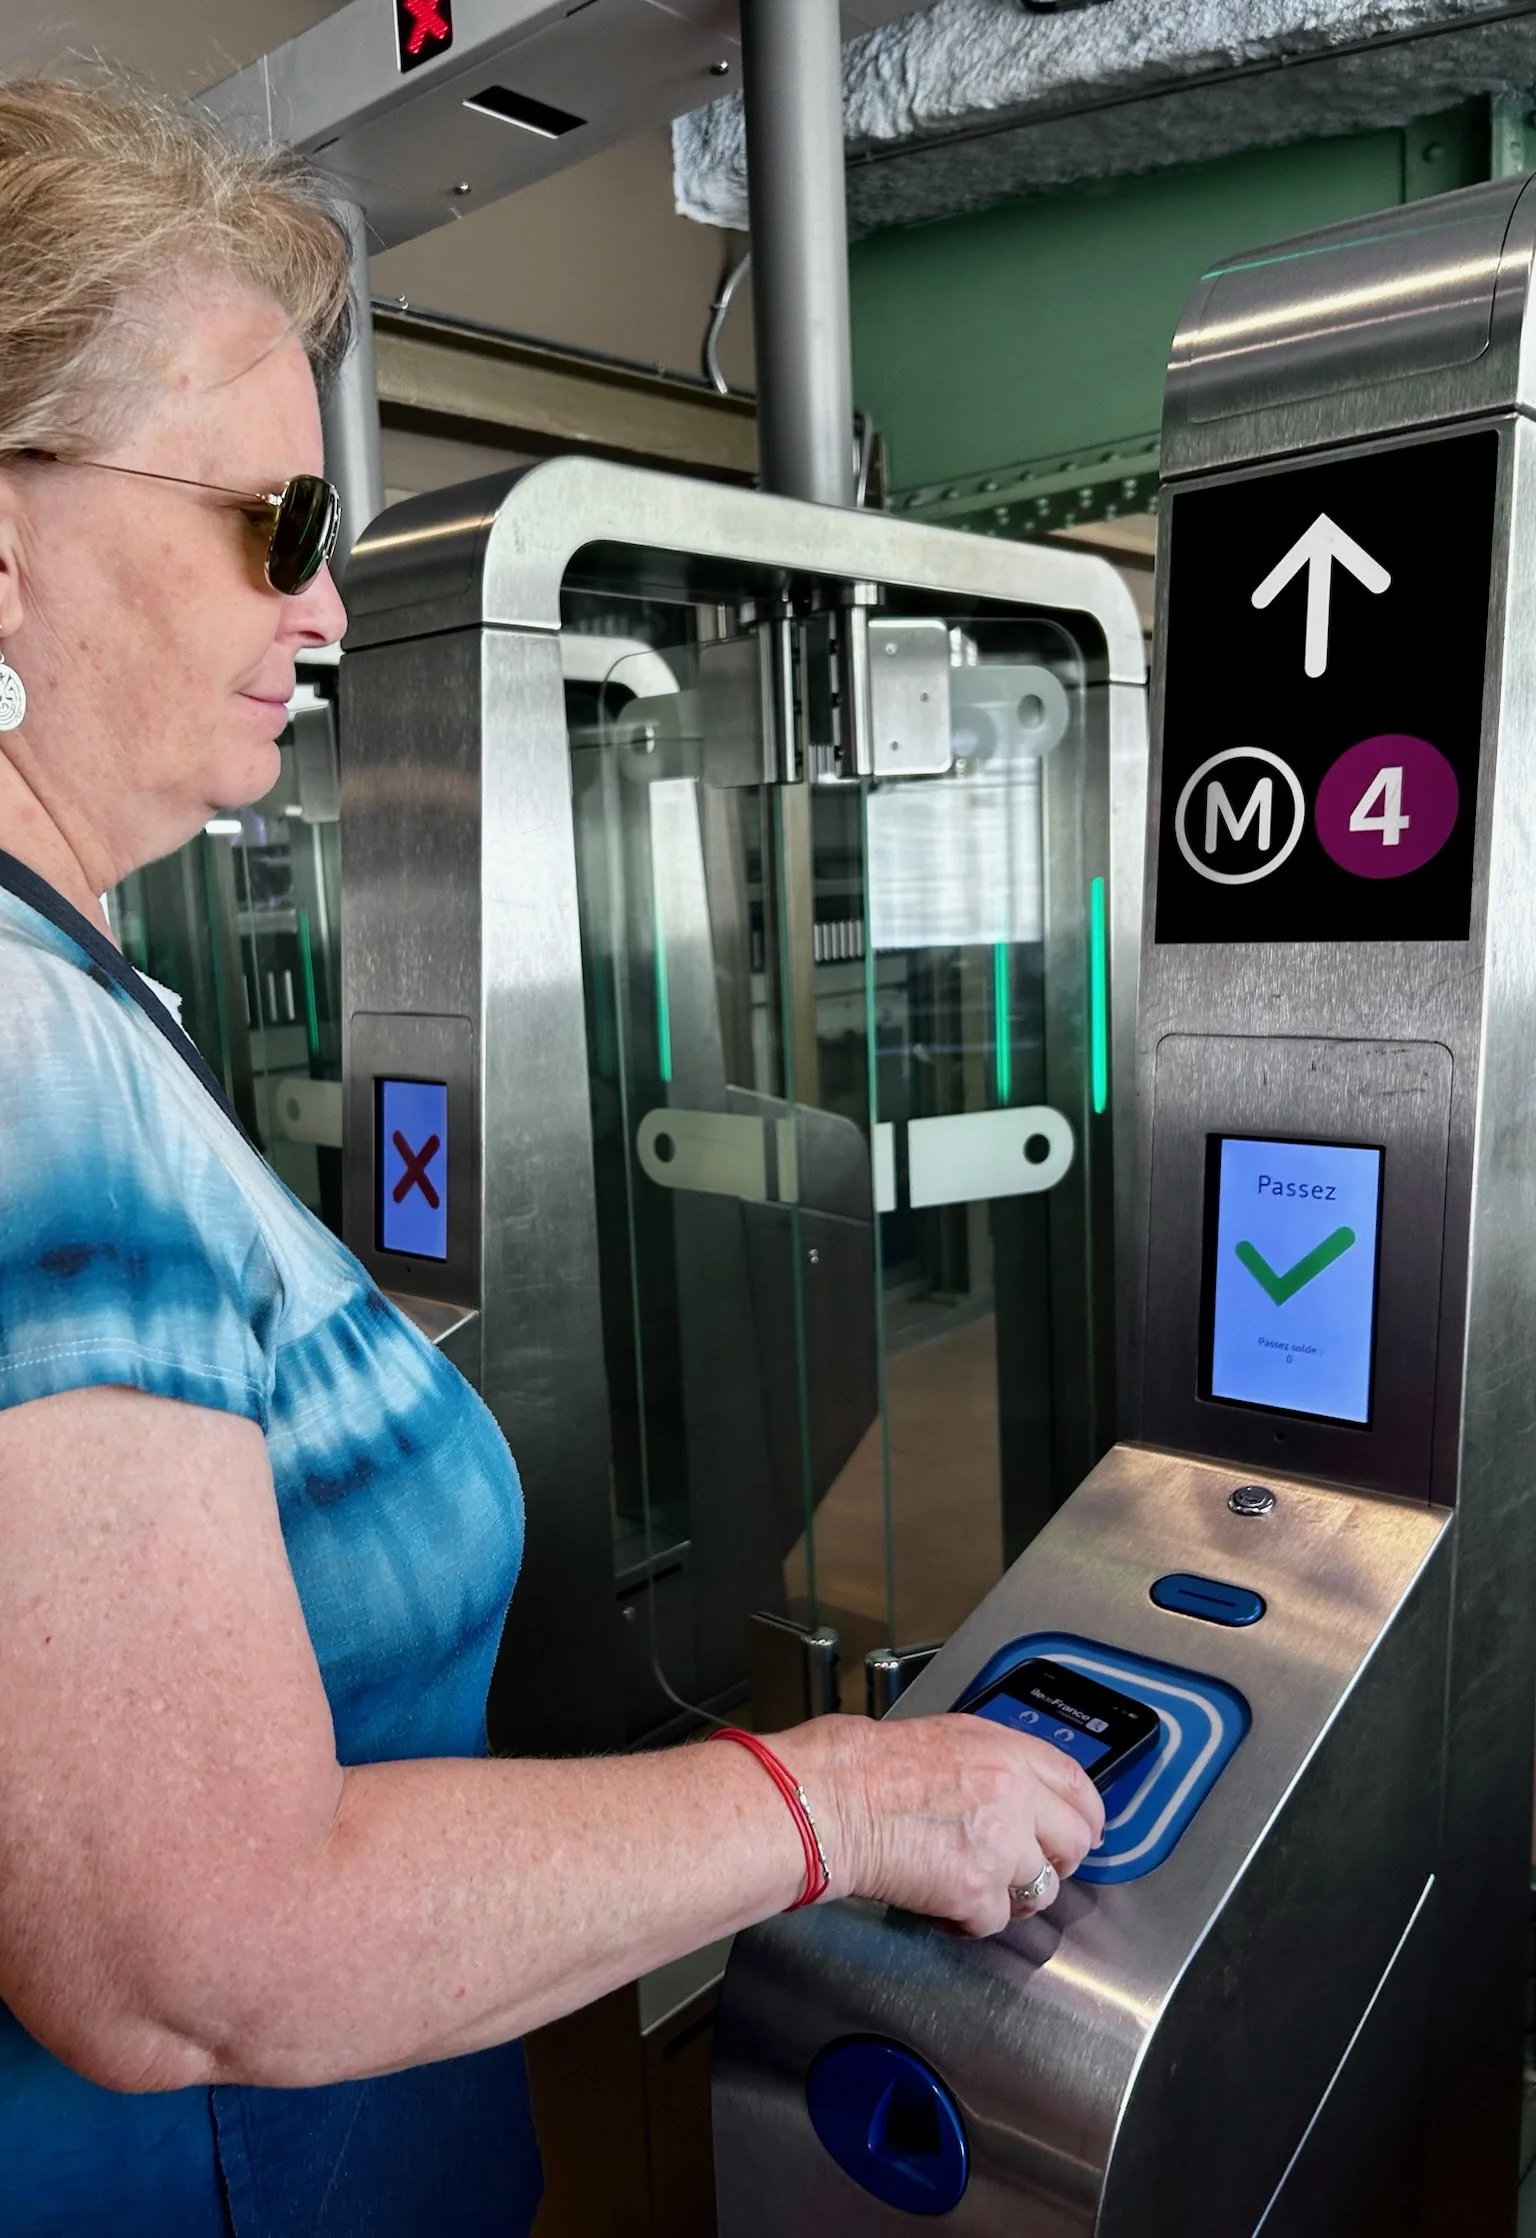
Download any apps related to your location. For instance, we traveled to Paris. I downloaded the Bonjour RATP app so we could easily purchase subway and train tickets on our phones as needed. As you approach the turnstile, open the app and tap the scanner to use the purchased ticket. No more waiting in lines to buy tickets. Same with train tickets. We used Trainline to purchase all our train travel within and between countries. Open the app, tap on your ticket to scan or have your barcode scanned by the train agent. And, all these “tickets” can be saved to your Apple Wallet so you don’t have to worry about which app to launch to get on that cool boat excursion leaving in 5 minutes.
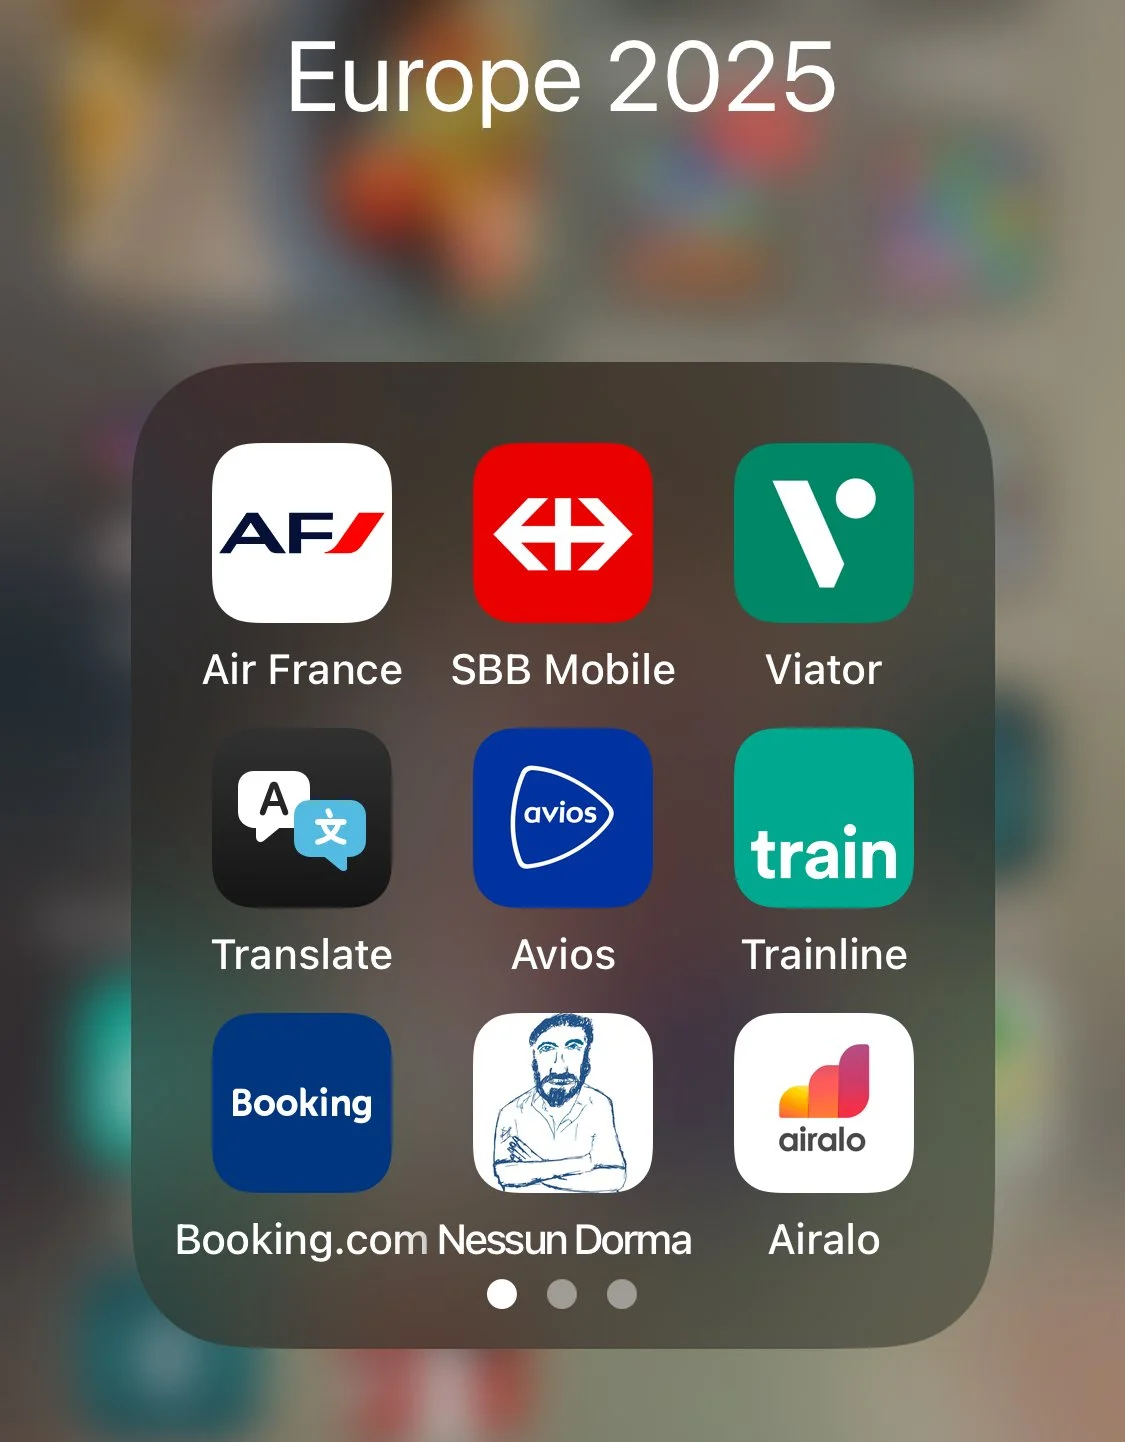
A fun little tip to make travel easier is to move all your travel apps on your phone into one folder. I called my folder Europe 2025. By having all these apps in one place, I didn’t worry about fumbling with my phone when I checked into a hotel, arrived for a dinner reservation, boarded a flight or jumped on a train. On iPhone, hold your finger down on the home screen, not on an app, until all the apps start to wiggle. Drag one of your travel apps on top of another. A folder is created with a title. Tap on the wiggling folder. You can now change the name of the folder to whatever you want. Tap outside the folder to go back to the Home Screen. Your icons should still be wiggling. If not, make them wiggle again. Now drag any app you need for your trip into your folder for easy access. Tap Done in the upper right corner to stop the wiggling.

Many phone carriers offer an International Plan of approximately $12 per day for use of your phone for phone calls and data (think texts. email, maps and any of the apps we mentioned above). A two week trip can cost you over $150 per person. If you’re worried about the cost of communicating while traveling, get an eSIM. I did it for the first time on my trip and it was inexpensive. I used an app called Airalo. There are many eSIM apps out there and I chose Airalo because reviews said it was fairly easy to set up. You can get $3 off your subscription if you use our referral code - SUSAN9777. Plus, I figured if it didn’t work, I’d just let my carrier charge me $12 per day. I downloaded the app in the U. S. before I left town. I chose a multi-country, 10G data plan. And, I was able to do most of the setup. But you cannot activate the eSIM until you are in the country where you’ll use the eSIM. The key, I discovered, was actually following the directions. If you don’t, like me, it just won’t work. There are a couple of changes you need to make to your phone for it to work and they are not intuitive. But Airalo tells you how to do it, step-by-step, in the instructions. Imagine that {sarcasm}. I finished the setup in Switzerland when we arrived and I had a phone with lots of data and could text, email, use my train and travel apps, hiking maps, everything without breaking the bank. My cost was only $50 compared to the $168 AT&T would have charged me.
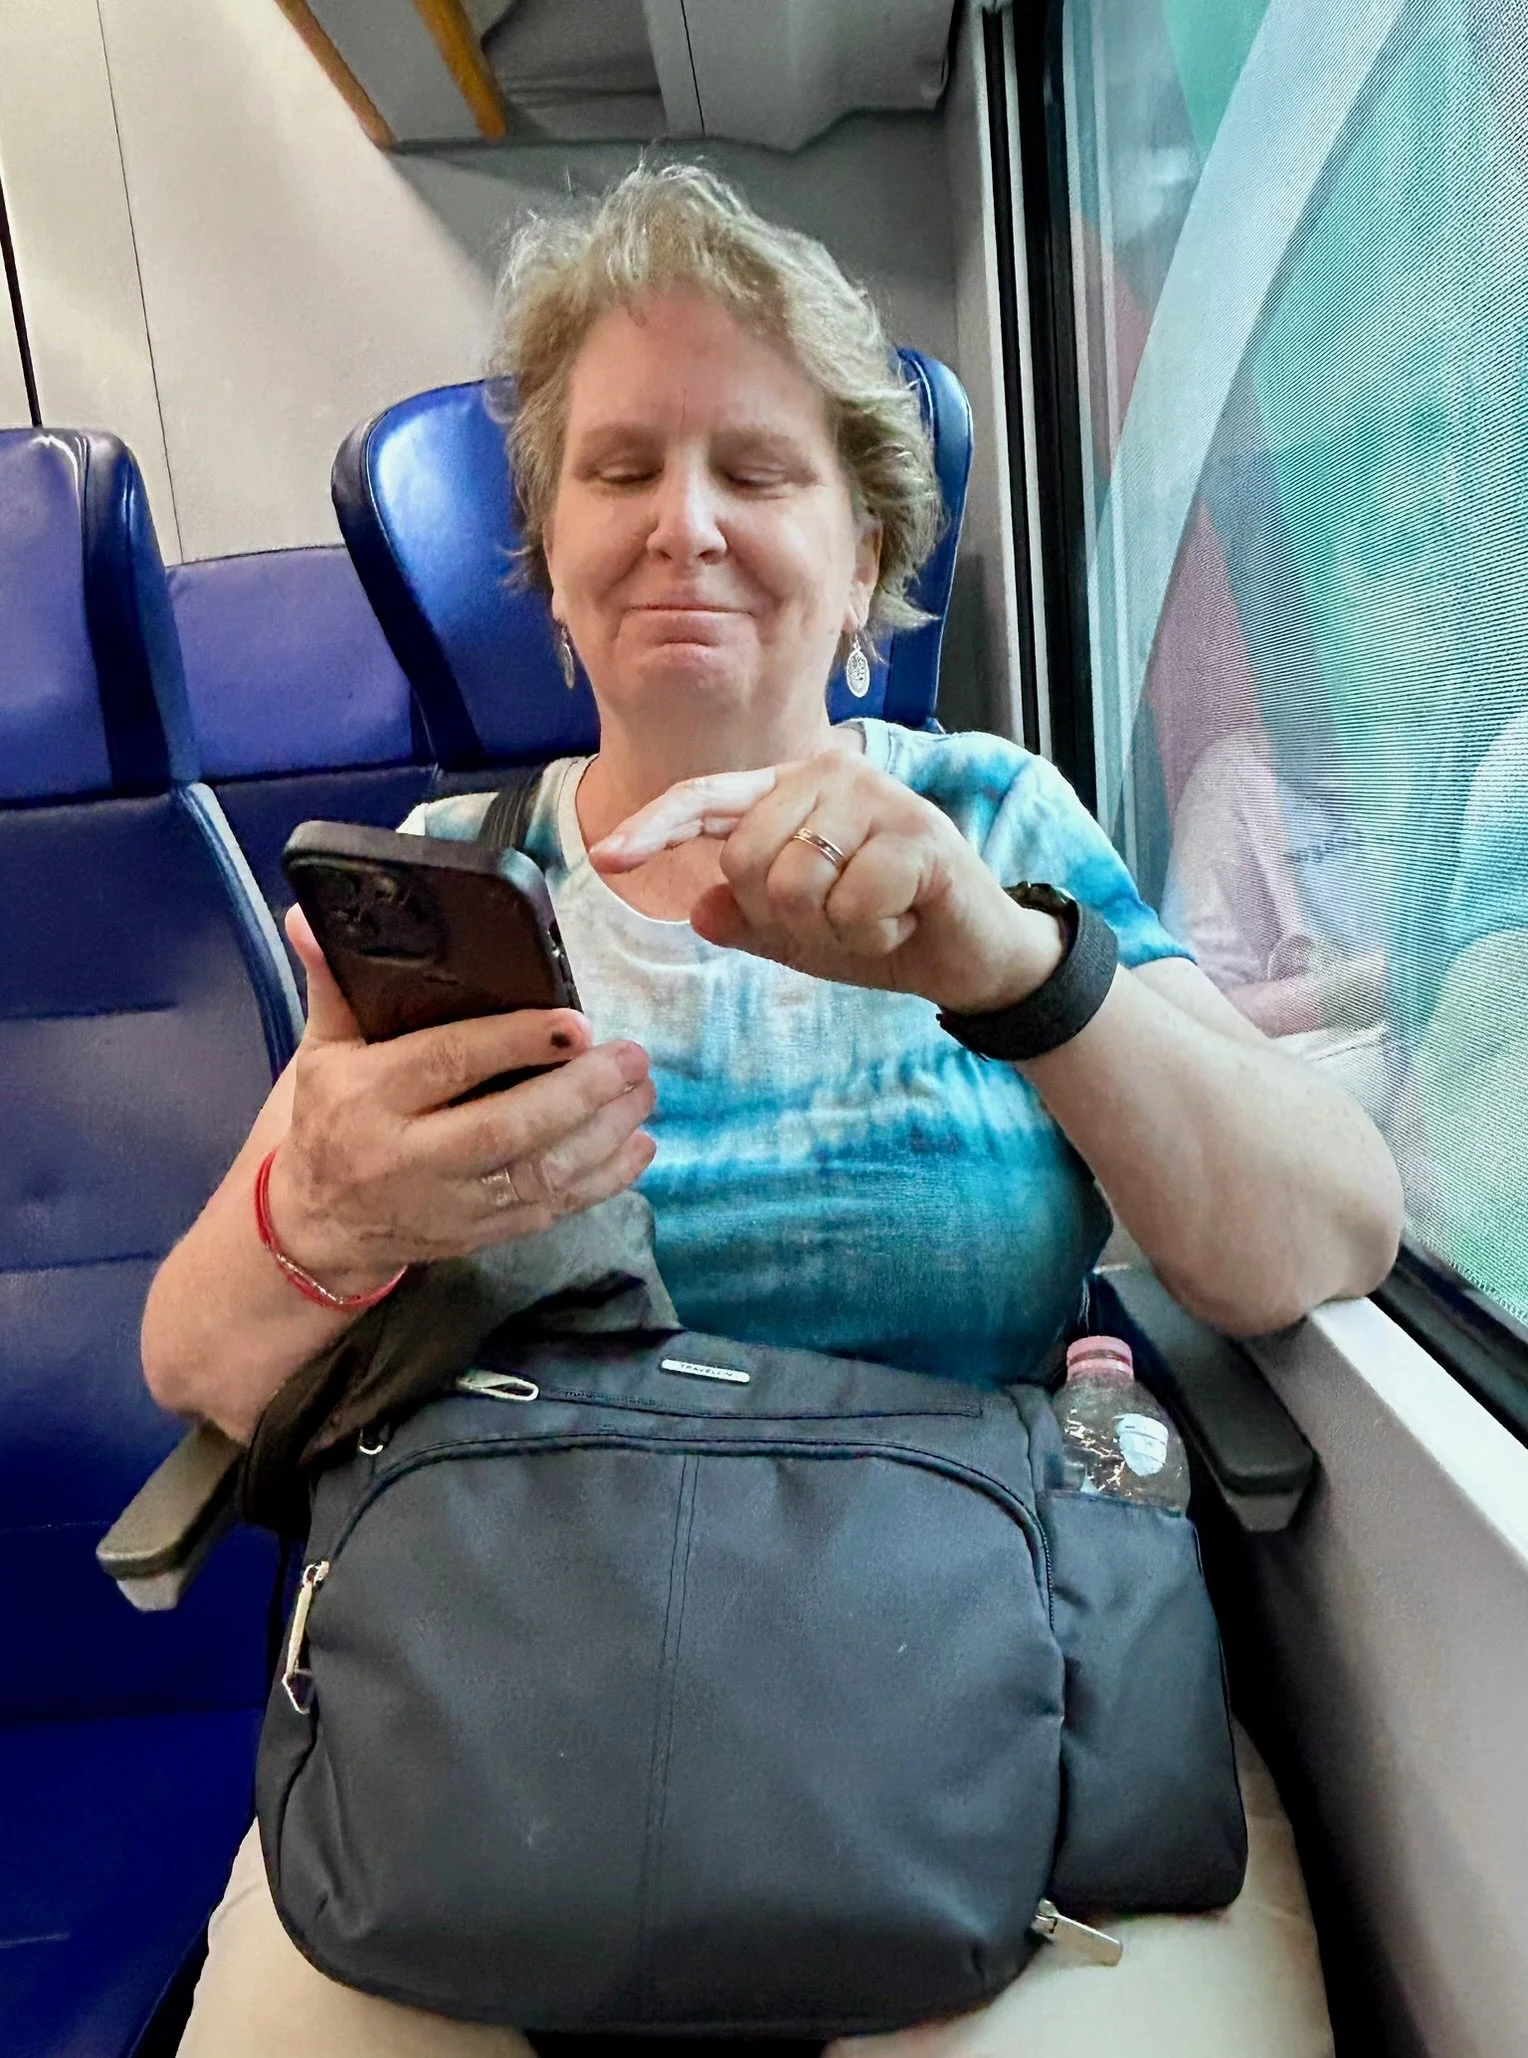
Sue using her iPhone to figure out direction to the hotel after we get off the train.
I hope you find one or two of these apps useful for your next trip. I wonder if I can find an app that will help me pack lighter?!
If you’re getting ready to travel and need help getting yourself set up with helpful apps, give She’s Wired a call at 404-935-9614 or email WeCanHelp@ShesWired.com. We’d love to help you plan your next adventure.

More From She’s Wired


